1. Packing Gland and Stuffing Box Leaks
Why It Happens
The stuffing box, which surrounds the pump shaft, contains packing rings that form a seal to limit leakage around the rotating shaft. Over time, packing material wears due to friction, heat, or improper adjustment. If the gland is too tight, it can score the shaft sleeve. If it is too loose, fluid or air can leak through.
Symptoms
- Dripping or spraying near the shaft
- Air being drawn into the suction line at high lifts
- Loss of suction prime or reduced performance
Fixes
- Gradually tighten the gland nuts one-quarter turn at a time until leakage is reduced to 40–60 drops per minute. This rate provides necessary lubrication to the packing.
- Replace worn packing rings with new ones of the correct size.
- Inspect the shaft sleeve for scoring and replace if damaged.
- Consider upgrading to a mechanical seal or a Cornell Cycloseal® system, which reduces stuffing box pressure and extends seal life.
2. Suction-Side Air Leaks
Why It Happens
Air leaks on the suction side do not always produce visible fluid leakage but allow air to enter the pump. Air in the suction line can cause cavitation, loss of prime, and erratic flow. Even a small leak can cause vapor bubbles to form and collapse, damaging the impeller and volute.
Hydraulic Seminar Workbook
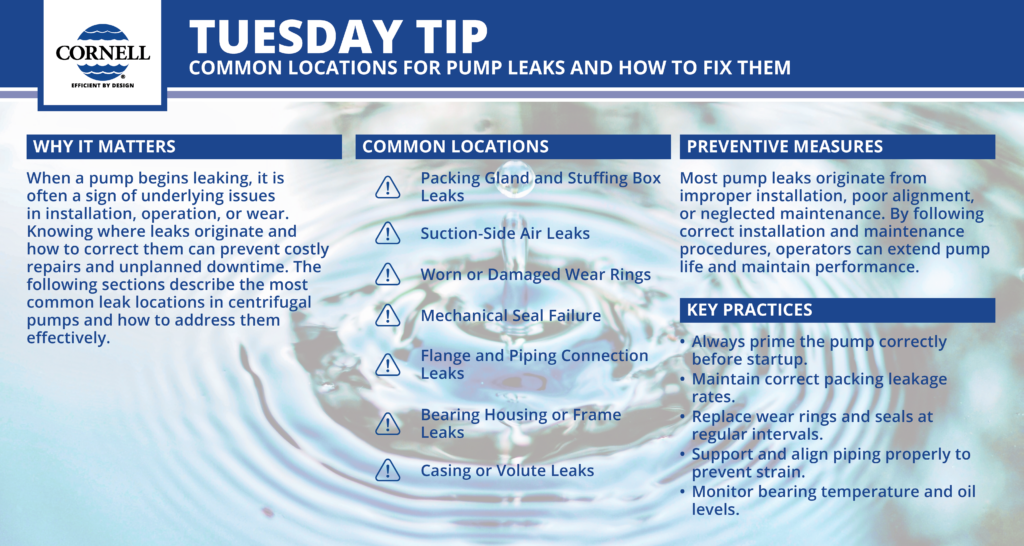
Common Locations
- Around the packing gland, particularly under high suction lift
- Loose or improperly sealed suction fittings
- Worn balance line connections or damaged gaskets
Fixes
- Check for bubbles or foam in the suction line during operation.
- Inject a small amount of liquid from the discharge line into the packing area’s lantern ring to block air intrusion.
- Reseat or replace gaskets and tighten suction connections.
- Inspect and clean balance lines regularly to prevent blockages.
3. Worn or Damaged Wear Rings
Why It Happens
Wear rings act as replaceable sealing surfaces between the impeller and casing, minimizing internal leakage. Abrasives in the liquid or vibration can enlarge clearances, allowing liquid and pressure to bypass.
Symptoms
- Reduced head and efficiency
- Unusual recirculation noise
- Accelerated packing wear
Fixes
- Replace wear rings once the clearance exceeds 0.032 inches per side.
- Inspect the impeller and volute for erosion or pitting and repair as needed.
- Verify that suction and discharge piping are properly supported to prevent misalignment and additional wear.
4. Mechanical Seal Failure
Why It Happens
Mechanical seals prevent leakage along the shaft by pressing two polished faces together under spring tension. They can fail due to dry running, incorrect installation, or vibration.
Symptoms
- Continuous dripping or spraying at the seal housing
- Scoring or heat marks on seal faces
- Drop in suction performance
Fixes
- Do not run the pump dry unless it has a Run-Dry™ feature.
- Follow all seal startup and venting procedures to eliminate trapped air.
- Inspect the shaft for runout and correct any misalignment between the pump and driver.
5. Flange and Piping Connection Leaks
Why It Happens
Improperly aligned or unsupported piping can place stress on the pump casing and flange gaskets, resulting in leaks and cracks. Pumps should never be used to support piping weight.
Symptoms
- Persistent leaks at flange joints
- Misaligned couplings
- Excessive vibration
Fixes
- Use eccentric reducers with the flat side up on suction piping to prevent air pockets.
- Install pipe supports close to the pump to carry weight and prevent strain.
- Reinstall and tighten flanges evenly, using flexible couplings where possible to accommodate expansion.
6. Bearing Housing or Frame Leaks
Why It Happens
Bearing housings hold the oil or grease that lubricates the rotating elements. Overfilling, contamination, or worn seals can cause oil leakage.
Symptoms
- Oil residue on the frame or baseplate
- Bearing temperatures above 200°F (93°C)
- Abnormal vibration or noise
Fixes
- Maintain proper oil levels using the sight gauge and recommended lubricants.
- Replace lip seals periodically and ensure grease fittings are clean before adding grease.
- Follow a relubrication schedule, typically every 1,500 to 2,000 operating hours.
7. Casing or Volute Leaks
Why It Happens
Casing leaks can result from corrosion, freeze damage, or strain from the piping system. Even small cracks can expand under pressure.
Fixes
- Inspect for cracks or pinholes near fittings or drain plugs.
- Drain the pump during freezing conditions to avoid damage.
- Consider upgraded materials such as ductile iron, stainless steel, or hardened iron for corrosive or abrasive liquids.
Preventive Measures
Most pump leaks originate from improper installation, poor alignment, or neglected maintenance. By following correct installation and maintenance procedures, operators can extend pump life and maintain performance.
Key Practices
- Always prime the pump correctly before startup.
- Maintain correct packing leakage rates.
- Replace wear rings and seals at regular intervals.
- Support and align piping properly to prevent strain.
- Monitor bearing temperature and oil levels.
Following these best practices, as outlined in Cornell Pump’s installation and care manual and Hydraulic Seminar workbook, will reduce leaks, extend equipment life, and maintain efficient operation.