Why a Checklist Matters
Breakdowns in the field are costly—lost water, lost time, and sometimes lost crop. A solid troubleshooting routine, paired with regular maintenance, keeps centrifugal pumps reliable season after season. Ideally, when something goes wrong, this isn’t the first time you’ve looked at the pump this year; pre-season checks and mid-season spot inspections make the steps below faster and more effective.
Safety First
Before any diagnostic work, stabilize the site and protect people. Confined spaces, pressurized systems, and rotating equipment can harm in an instant. Treat manure pits with special care due to gas hazards.
☐ Lockout/tagout power and isolate energy sources
☐ Wear eye/hand protection; use respirator as conditions warrant
☐ Ventilate and monitor gases near pits; follow confined-space protocols
☐ Relieve pressure/temperature; crack fittings slowly and deliberately
Express troubleshooting guide
Use these sections and check boxes to determine in-field issues promptly. We suggest you have a yearly set up and tear-down routine with more rigorous investigation to aid in pump performance.
Quick Setup & Baseline
Small, simple instruments tell you a lot. Add gauges, verify rotation and speed, prime the pump fully, and capture a baseline. That “first snapshot” makes the rest of troubleshooting objective.
☐ Install suction (vacuum) and discharge (PSI) gauges
☐ Verify rotation and RPM versus nameplate/curve
☐ Fill/prime casing or priming chamber; vent high points
☐ Record baseline: RPM ___ / Amps or % load ___ / Suction ___ inHg / Discharge ___ PSI / Est. GPM ___
Fast math: Head (ft) ≈ PSI × 2.31 • Vacuum head (ft) ≈ inHg × 1.13
Ten-Minute Triage
Most field issues show up on the suction side, at the impeller, or in obvious restrictions. This quick sweep finds the usual suspects fast.
☐ Suction side airtight (clamps, gaskets, fittings, seal)
☐ Strainer clear; submergence ≥ 3–5× suction diameter
☐ Discharge path open; no kinks; check valve moving freely
☐ Impeller/cleanout clear; self-primer clearance in spec
☐ Bearings/seal: no abnormal heat, noise, or leakage
☐ Base solid; no pipe strain at nozzles
☐ Rotation correct direction; ensure phase sequence of the motor wiring is correct
Symptom Diagnostics
Use the baseline numbers and your triage findings to zero in. Adjust one thing at a time and re-read the gauges so you know what helped.
Won’t Prime / No Suction
☐ Soap-test joints and O-rings; re-gasket or tighten
☐ Confirm priming chamber is full; bleed discharge to purge air
☐ Reduce suction lift or increase liquid level; add anti-vortex plate
☐ Inspect/replace foot or flapper/check valve
☐ Clear strainer and suction line; use rigid, non-collapsing suction hose
Low Flow / Low Pressure
☐ Measure/restore impeller and wear-ring/plate clearances
☐ Eliminate air entrainment (increase submergence, add baffle, vent casing)
☐ Verify RPM (VFD limits, belt slip, engine throttle)
☐ Remove downstream restrictions; right-size long hose runs
☐ Compare gauge head to the curve; correct impeller trim/hydraulics
Cavitation (Gravel Sound, Bouncing Gauges)
☐ Shorten/widen suction; remove elbows/fittings near pump; lower pump
☐ Increase submergence; install anti-vortex plate
☐ Throttle discharge or reduce speed to move left on the curve
Excessive Vibration / Noise
☐ Open cleanout; remove debris from impeller/volute
☐ Check impeller balance, shaft runout, wear components
☐ Re-align base/coupling; relieve pipe strain; add flexible connectors
☐ Vent trapped air; stabilize two-phase flow
Motor/Engine Overheating or High Amps
☐ Throttle discharge or slow down (avoid running far right on the curve)
☐ Account for heavier/colder liquid; derate or reduce speed
☐ Inspect for rubbing, bearing issues, or misalignment
Seal Leakage / Bearing Issues
☐ Confirm wet end was fully primed (no dry run)
☐ Add/verify seal flush or flush pot in abrasive duty
☐ Use correct lubricant and intervals; keep contamination out
☐ Upgrade to abrasion-tolerant seal faces if failures recur
Repeated Clogging / Ragging (Common in Manure)
☐ Fit cutter/chopper or larger-passage impeller
☐ Add upstream bar screen/rock box; remove tight pre-pump elbows
☐ Keep suction velocity 3–5 ft/s; shorten and straighten suction run
Loses Prime While Running
☐ Stop air ingestion (maintain level, add baffles, vent casing)
☐ Service discharge check valve; orient vertically when possible
☐ Replace collapsing suction hose with reinforced rigid type
Application Notes
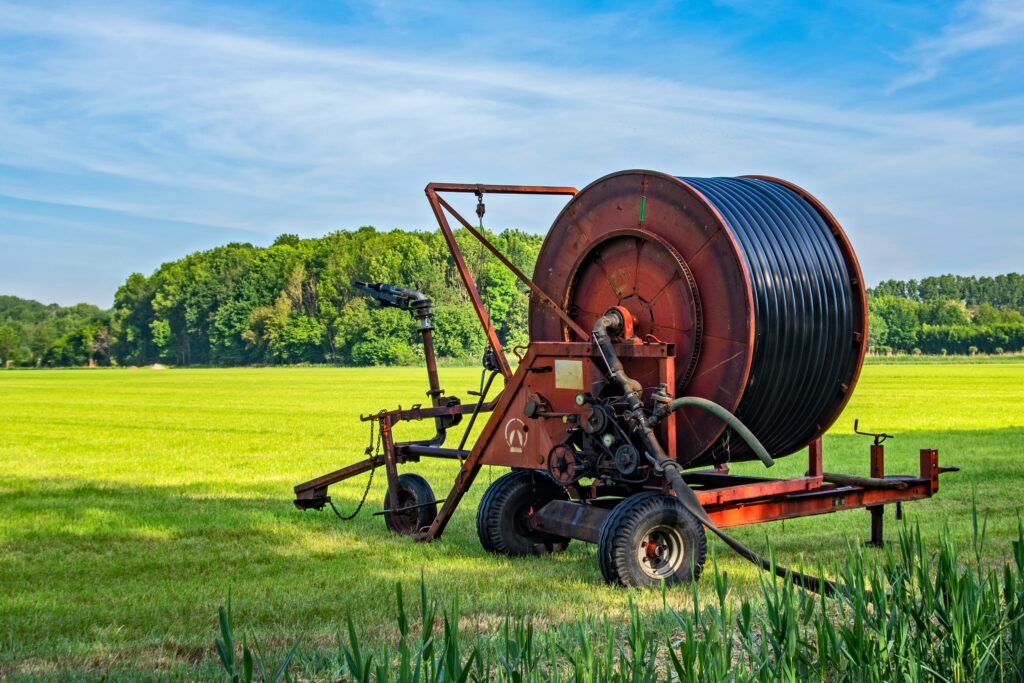
Irrigation
Irrigation flows are often steady and relatively clean, but sand wear and foot-valve issues can sneak up mid-season. Keep strainers simple and serviceable, and verify overnight column hold.
☐ Test foot valve sealing (overnight column check)
☐ Inspect for sand wear; service wear rings/impeller as head falls at same RPM
☐ Keep strainers clean; avoid overly fine mesh that starves the pump
Dewatering
Levels change, solids shift, and suction intakes migrate toward silt. Keep the intake off the bottom and plan for frequent inspections when solids are high.
☐ Strainer area ≥ 3–5× pipe area; elevate off the bottom
☐ Maintain submergence as level drops; relocate intake or use float intake
☐ Inspect priming cover gasket and flapper/duckbill routinely on self-primers
Manure Transfer
Expect fibers, gases, and viscosity swings. Degassing and correct hydraulics dramatically reduce nuisance trips and seal wear.
☐ Install degassing tee/vent from casing high point back to pit
☐ Use open/cutter/chopper hydraulics; avoid tight suction elbows
☐ Flush with clean water after pumping to extend seal/bearing life
☐ If sand is present, avoid far right of curve at start up, build pressure slowly (Sand will eat your wear plate or wear ring)
Self-Priming Pump Essentials
Self-primers are field favorites, but they rely on airtight integrity and correct clearances. Re-set clearances any time wear parts are replaced.
☐ Set impeller-to-wearplate clearance to spec
☐ Inspect priming cover O-ring and drain plugs for airtight seal
☐ Verify suction flapper/check seals shut
Startup & Shutdown Routine
The first minute after startup and the last minute before shutdown are when most mistakes happen. Vent air, set your operating point, and leave the pump clean.
☐ Start with discharge cracked; confirm solid stream; then set to duty point
☐ Avoid running far right of curve; adjust valve/speed as needed
☐ For manure: flush with clean water before shutdown; close valves slowly
Spares & Truck Stock
A small kit prevents long trips back to the shop. Stock what routinely fails in your conditions, plus the instruments that make diagnosis easy.
☐ Priming cover O-rings, suction/discharge gaskets, flapper/check kit
☐ Wear rings/plates, shaft sleeve, mechanical seal, strainer basket
☐ Rigid suction hose section, anti-vortex plate, vent/bleed kit, spare gauges
Field Log (Fill In)
Good notes separate “we think” from “we know.” Write it down once; save time later.
☐ Site __________ Liquid __________ Temp ___°F
☐ RPM ___ Amps/% load ___ Suction ___ inHg Discharge ___ PSI (→ ___ ft)
☐ Estimated GPM ___ Seal leak? ☐Yes ☐No Bearing temp normal? ☐Yes ☐No
☐ Actions/parts replaced ______________________________________________
Maintenance: The Best Troubleshooting Is Preventive
A preseason inspection, a mid-season touchpoint, and a post-season tear-down will prevent most in-season failures. Check clearances, refresh soft goods, and document duty points. When trouble does strike, this checklist turns guesswork into a methodical, repeatable process—so you’re back irrigating, dewatering, or transferring manure with minimal downtime.