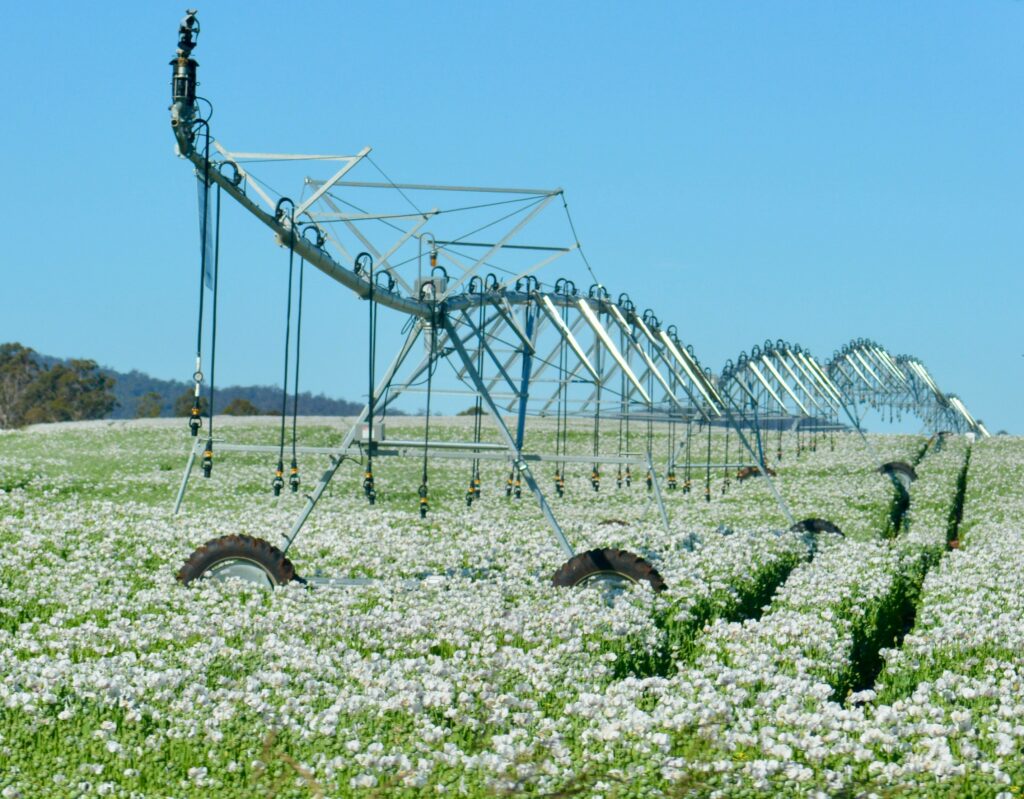
First off, I ask: What crop are you irrigating, and how much water does it need? Every crop has different requirements—what works for a vineyard won’t necessarily work for carrots or alfalfa. Then we look at how much time we have to apply that water. Once we figure out gallons per minute (GPM) based on volume and run time, we’ve got our flow rate.
Next, we turn to pressure. It’s not just about getting water out of the pump—it’s about getting it all the way to the very last emitter in the field. That includes pushing it through pipes, fittings, valves, and filters—and sometimes over hills or uneven terrain. Most irrigation system designs will give you a target GPM and PSI. That’s great information, and a solid starting point—but it’s not the full picture.
What I often see missed in early pump sizing is everything else the system might need to do. Are there spray nozzles on the intake screen? Will the filters need to backflush? Are we going to flush the lines or inject fertilizer? These extras all take additional flow and pressure, and if they aren’t factored in, the pump might fall short when it’s go time.
Another key detail is the suction side of the system. Is the pump drawing from a reservoir, a canal, or a well? Are we lifting water, or is the suction flooded? Suction lift introduces its own set of losses—things like vertical lift from water level to pump centerline, and pressure loss through intake screens or elbows. And while I won’t dive too deep into Net Positive Suction Head (NPSH) here, just know that if you’re lifting water, it can be a very real consideration. Leaving these factors out can lead to poor performance—or worse, damage to your pump.
It’s also smart to plan for the future. Are you going to expand the system next season? If so, it might be worth upsizing your pump a bit now, rather than needing to buy a new one later. A little foresight here can save you a lot of hassle (and money) down the road.
Now, here’s something that trips up a lot of folks: talking PSI versus feet of head.
In irrigation, we typically use pressure—PSI. In the pump world, we use head—measured in feet. The good news? It’s easy to convert:
- Multiply PSI by 2.31 to get feet of head
- Divide feet of head by 2.31 to get PSI
So, if you’re trying to match up a pump curve with your irrigation design, that little formula can be a lifesaver. It helps you speak both languages and make sure everyone’s on the same page.
After all that, we look at the pump configuration. Do you need a close-coupled unit, a frame-mount, or an engine-driven setup? What kind of motor—standard ODP (open drip proof), or TEFC (totally enclosed fan cooled) for tougher environments? What about the seal—mechanical or packing? In the ag market, it’s about a 50/50 split, and preferences vary depending on your location and how you like to do maintenance.
Don’t forget to ask yourself: Does the pump need to be self-priming? If you’re pulling water from a pond or ditch, you might need a priming system. But if your suction is flooded, that’s one less thing to worry about.
And finally, there’s the old saying: “Nobody complains about too much pressure.” While there’s some truth to that, you still need to know your limits—what’s the pump’s shut-off head, what’s the horsepower at run-out, and what are your typical operating conditions?
Because when everything’s sized right—from flow and pressure to suction and expansion room—your system will run smoother, last longer, and keep those crops healthy all season long.